The Complete Guide to ComfyUI Node Connections: From Basic Links to Advanced Techniques


After mastering the functions of individual ComfyUI nodes, connecting nodes becomes a new challenge for many beginners. Correct connections are not only the foundation for a properly functioning workflow but also key to improving efficiency. This article details various connection techniques in ComfyUI to help you build clear and efficient workflows.
Connection Basics: Understanding Inputs and Outputs
Each node has input and output ports that transmit data via connection lines. Grasping the basic principles of connections is the first step to using ComfyUI.
Correct Connection Methods
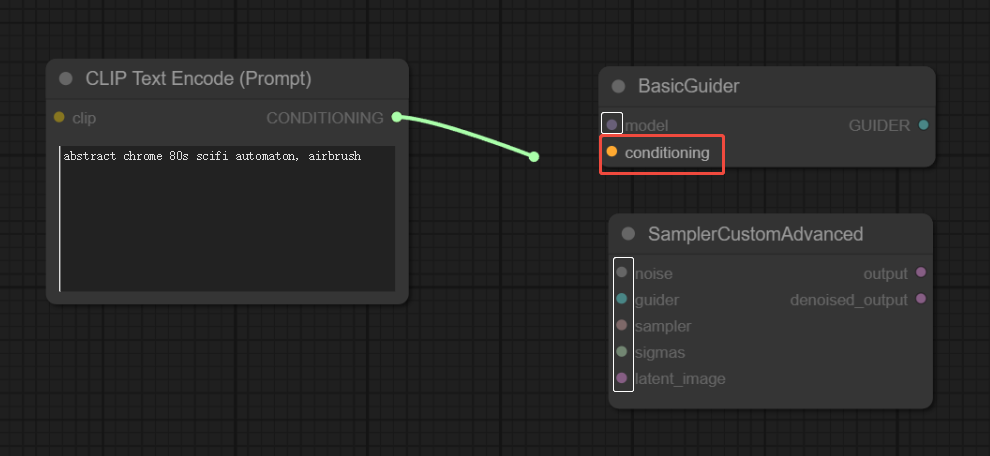
- Connection Direction: Always connect from an output port to an input port.
- Color Matching: Typically, only ports with matching colors can be successfully connected.
- Operation: Click an output port, drag to the target input port, and release.
This simple habit prevents most connection errors and ensures smooth workflow operation.
Two Ways to Disconnect
When modifying or deleting connections, use either method:
Disconnect from Input:
- Locate the input port of the connection line to disconnect.
- Click and drag the line to a blank area of the canvas.
- Release the mouse and click the blank area to confirm.
- Note: Dragging from an output port only creates new connections and won’t disconnect existing ones.
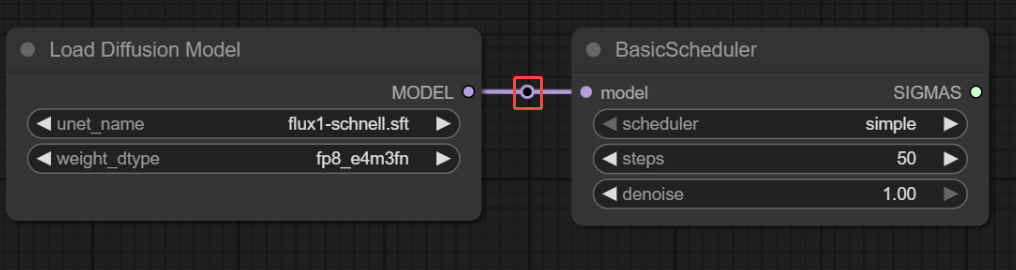
Use Connection Control Points:
- Click the small circle in the middle of the connection line.
- Select the "Delete" option from the pop-up menu.
- This method is better for quickly removing unwanted connections.
Understanding Connection Rules
- One-to-Many Connections:
One output port can connect to multiple input ports, which is useful for sharing data. For example, you can connect the same model to multiple samplers to generate different styles of images in the same workflow. - Many-to-One Connection Limitations:
An input port can only accept one connection. When a new connection is made, the old one is automatically disconnected. This design prevents data conflicts and ensures a single data source. - Handling Multiple Inputs:
When multiple outputs need to be merged into one input, use a dedicated merge node.
Practical Example
To merge two CLIP Text Encoder nodes:
- Create two CLIP Text Encoder nodes.
- Add a "Conditioning Merge" node (via search or right-click menu).
- Connect the outputs of both encoders to the merge node’s inputs.
- Connect the merge node’s output to the target input port.
This method allows you to combine multiple conditions for more complex image effects.
Connection Line Display Settings
ComfyUI offers multiple line display modes to optimize your workflow’s visual clarity.
Change Line Style:
- Click the settings button (gear icon) in the lower right.
- Find the "Connection Rendering Mode" option.
- Choose a style: right-angle, straight, curved, or hidden.
- Recommendation: Right-angle mode keeps complex workflows neat and is ideal for multi-node setups.
Tips and Best Practices
- Keep It Tidy: Regularly organize connection lines to avoid crossing and tangling.
- Use Colors: Match node color coding for more intuitive connections.
- Leave Space: Allow enough room for connection lines when planning layouts.
- Group Connections: Organize connection lines for related nodes together.
FAQ
- Q: Why won’t my connection establish?
A: Check if port colors match and ensure you’re connecting from an output to an input port. - Q: How do I know if a connection is correct?
A: Correct connections remain stable; incorrect ones often show warnings or fail to establish. - Q: What if there are too many connection lines?
A: Use right-angle mode and consider collapsing some nodes to simplify the view.
Conclusion
Mastering ComfyUI connection techniques is key to creating efficient workflows. From basic methods to advanced multi-input handling, these skills will help you better organize your creative process.
Remember, proficiency in connections takes practice. Don’t hesitate to experiment—even if you make mistakes, you can easily disconnect and reconnect. With experience, you’ll quickly build complex, efficient workflows and fully leverage ComfyUI’s powerful capabilities.
The best way to learn is by doing. Start trying these connection techniques now and explore the endless creative possibilities ComfyUI offers!
Unlock Full-Powered AI Creation!
Experience ComfyUI online instantly:
https://market.cephalon.ai/share/register-landing?invite_id=RS3EwW
Join our global creator community:
https://discord.gg/MSEkCDfNSW
Collaborate with creators worldwide & get real-time admin support.