ComfyUI Practical Guide: Using the OpenPose Preprocessors


OpenPose is a key model for controlling human poses. It can detect key points of the human body structure—such as the position of the head, shoulders, elbows, and knees—while ignoring detailed elements like the person’s clothing, hairstyle, and background. By capturing the position of the human structure in the frame, it restores the person’s pose and expression.
OpenPose Preprocessors
OpenPose has 5 preprocessor nodes: "Dense Pose Preprocessor", "DW Pose Preprocessor", "MediaPipe Facial Mesh Preprocessor", "OpenPose Pose Preprocessor", and "AnimalPose Animal Pose Preprocessor".
In the "DW Pose Preprocessor" and "OpenPose Pose Preprocessor" nodes, you can control which body parts are included in the skeleton map. The "Dense Pose Preprocessor" node differs from others: it uses different colors to distinguish body parts to achieve pose control. The "MediaPipe Facial Mesh Preprocessor" node can detect and track human faces in real time from input images or videos, then generate a dense mesh containing 468 key points. The "AnimalPose Animal Pose Preprocessor" node detects key points of animal body structures and generates corresponding skeleton maps.
These five nodes vary significantly in function, application scenarios, and features:
1. Dense and DW Pose Preprocessors focus on full-body pose analysis and recognition.
2. MediaPipe Facial Mesh Preprocessor specializes in extracting facial features.
3. OpenPose Pose Preprocessor provides full-body pose and key point detection.
4. AnimalPose Animal Pose Preprocessor is dedicated to animals.
Practical Operation
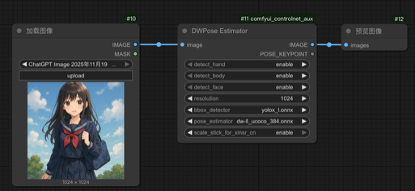
(1) Enter the ComfyUI interface, load the text-to-image workflow, create a new "DW Pose Preprocessor" node, and connect it to the "Load Image" and "Preview Image" nodes, as shown in the figure below.
(2) Create new "ControlNet Apply" and "ControlNet Loader" nodes and connect them. In the "ControlNet Loader", select the "control_v11p_sd15_openpose.pth" OpenPose model.
(3) In the workflow, the "ControlNet Apply" node acts as a positive condition to guide the generation. Therefore, connect the "Condition" port of the "ControlNet Apply" node between the "CLIP Text Encoder" node and the "K Sampler", as shown in the figure below.
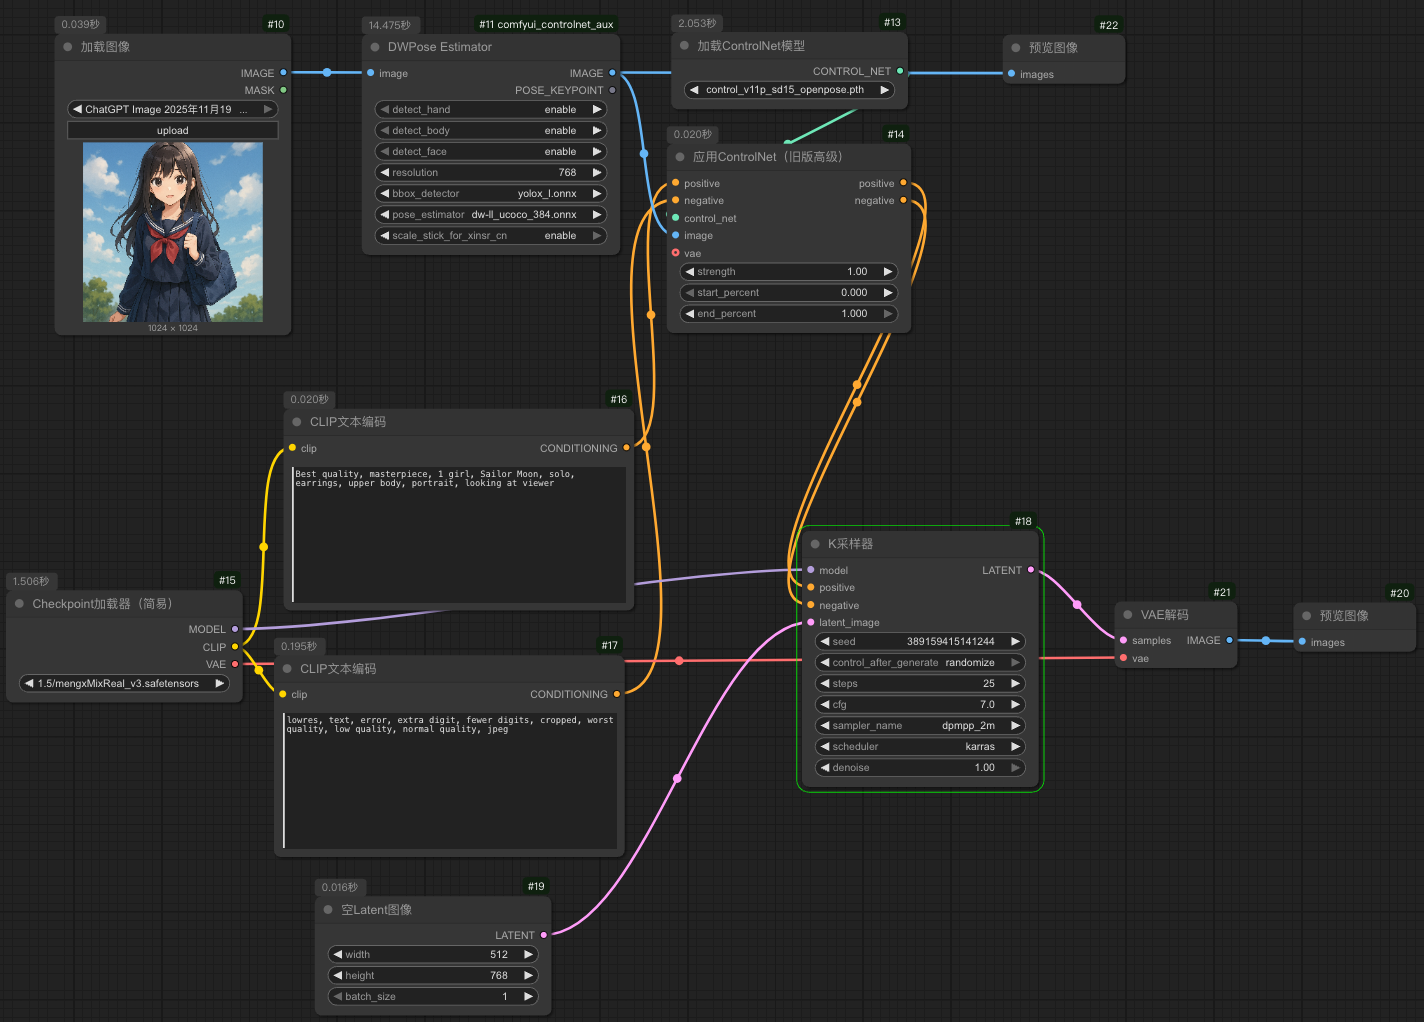
(4) Since we’re generating an IP character image, select the architectural-style model "IP DESIGN_3D Cute Style Model_V3.1.safetensors" as the Checkpoint model.
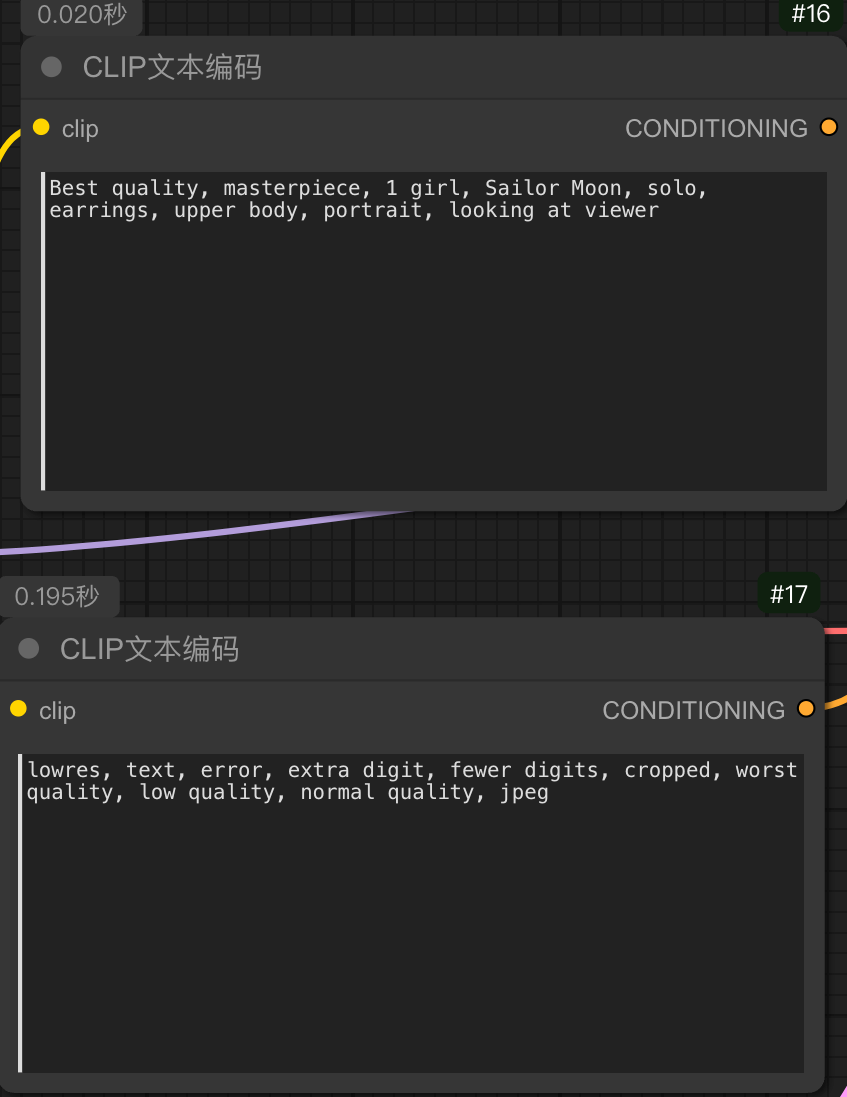
(5) Enter the description of the refined style in the positive prompt box—here we input: "1girl, Sailor Moon, solo, earrings, upper body, portrait, looking at viewer". In the negative prompt box, enter prompts for poor image quality—here we input: "lowres, text, error, extra digit, fewer digits, cropped, worst quality, low quality, normal quality, jpeg".
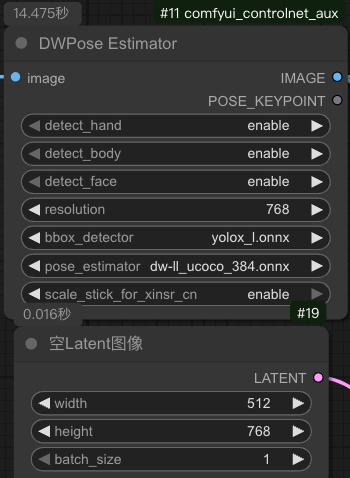
(6) For the "DW Pose Preprocessor" node, set all detection options to "Enable", set the "Resolution" to 768 (this is the height of the uploaded image, so you can keep the default size of the image here). Set the image size in the "Empty Latent" node to 512×768, and set the batch size for image generation to 1, as shown in the figure below.
(7) In the "K Sampler" node:
Set "Randomize" to 0
Set "Post-run Action" to "Randomize"
Set "Steps" to 25
Set "CFG" to 7
Set "Sampler" to "dpmpp_2m"
Set "Scheduler" to "karras"
Set "Noise Reduction" to 1
(8) Click the "Add Prompt Queue" button, and the IP character image with the same action as the uploaded image will be generated.
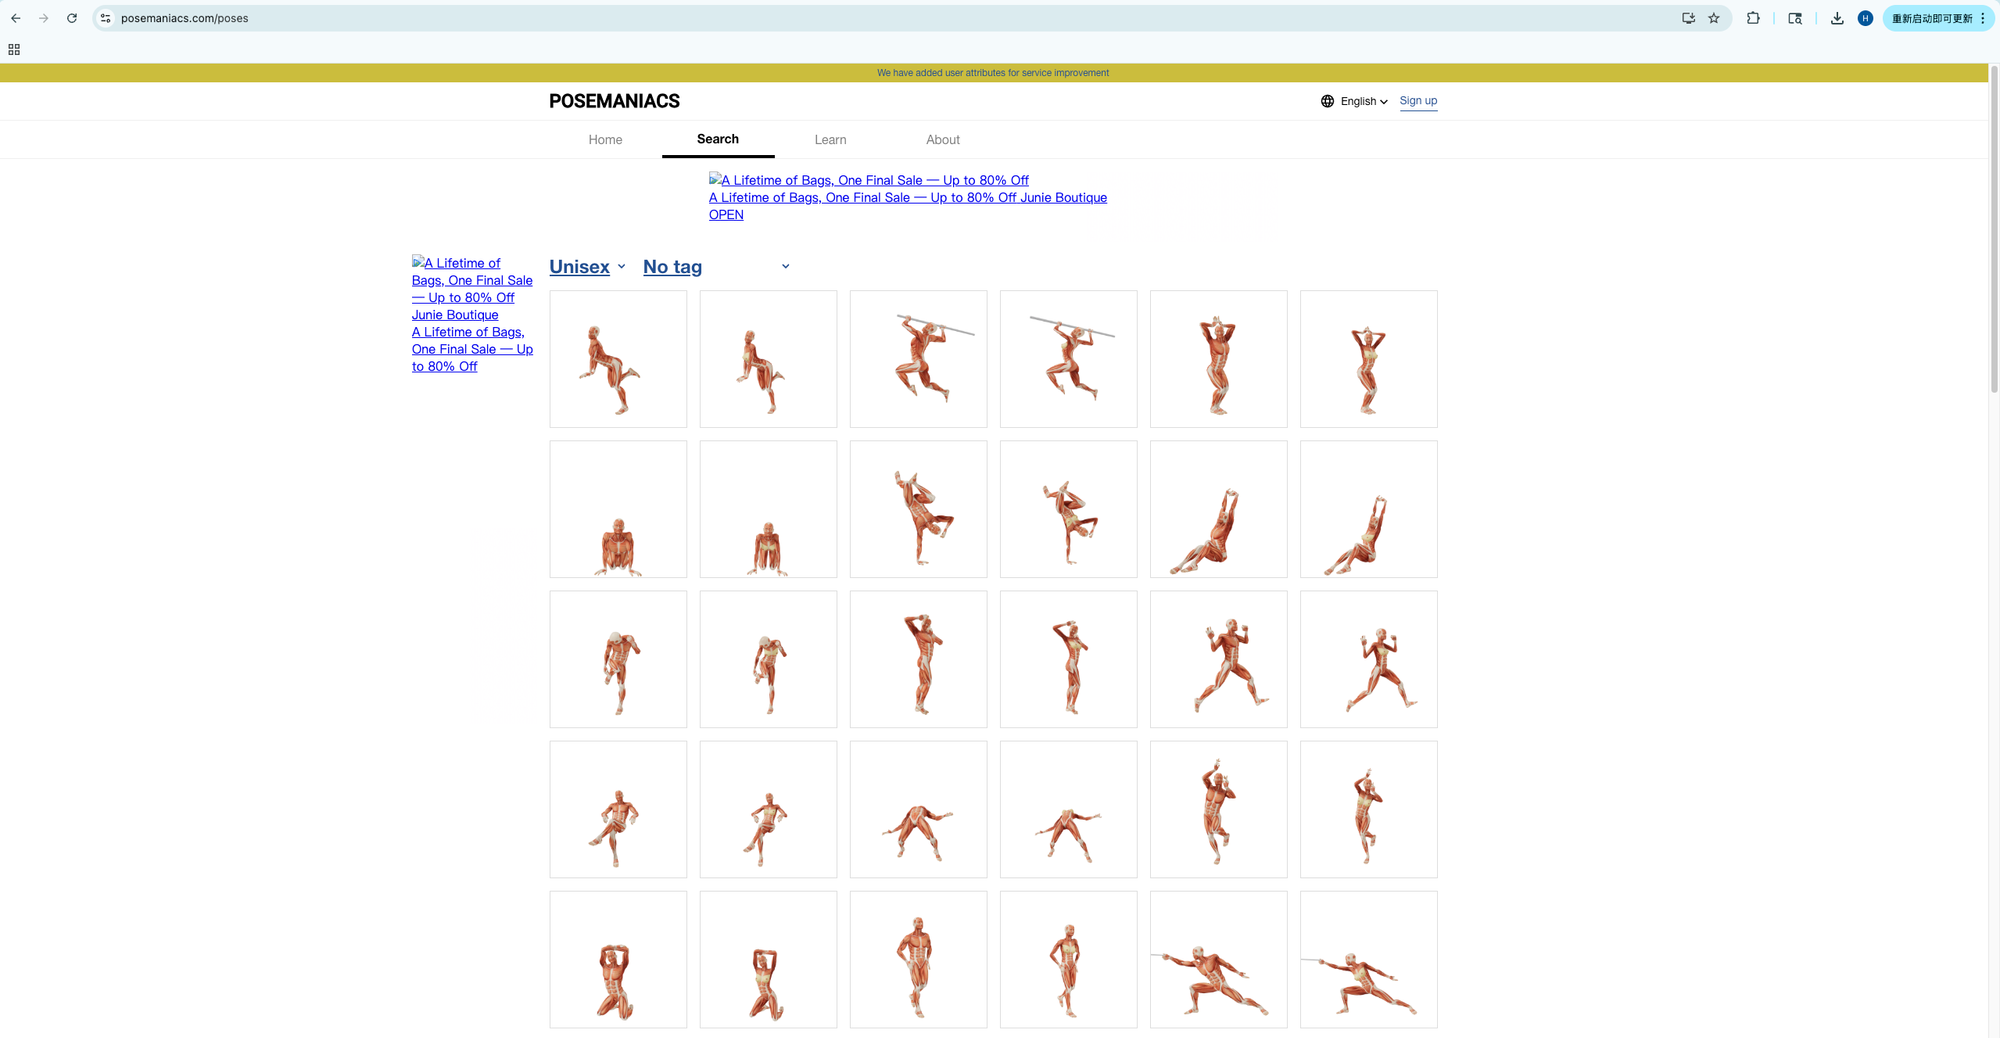
Openpose skeleton image
In addition to uploading real human images, the Openpose Preprocessor node can also upload simple human action images or directly upload pre-extracted human skeleton images. You can download human action images directly from this website: www.posemaniacs.com/zh-Hans.
Unlock Full-Powered AI Creation!
Experience ComfyUI online instantly:
https://market.cephalon.ai/share/register-landing?invite_id=RS3EwW
Join our global creator community:
https://discord.gg/MSEkCDfNSW
Collaborate with creators worldwide & get real-time admin support.