The Complete Guide to ComfyUI Core Nodes: From Text-to-Image to Efficient Workflow Management


ComfyUI, a node-based visual interface for Stable Diffusion, has gained popularity among AI art creators for its flexibility and controllability. For beginners, understanding the functions of core nodes is key to mastering this software. This article details the most important nodes in ComfyUI to help you get started quickly and create efficient workflows.
Core Image Generation Nodes
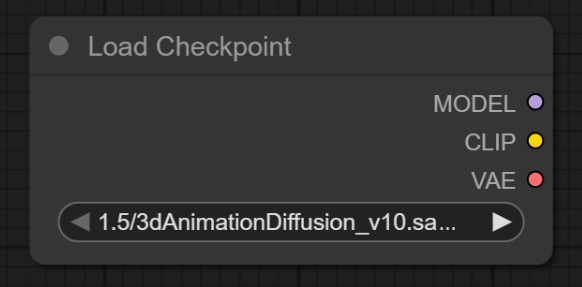
1. Checkpoint Loader (Simple)
This is your starting point, responsible for loading the base model.
- Function: Loads SD1.5, SDXL, or other base model files.
- Operation: Click the node and select your downloaded model file from the local folder.
Outputs:
- Model: For image denoising.
- CLIP: For parsing text prompts.
- VAE: For image encoding and decoding.
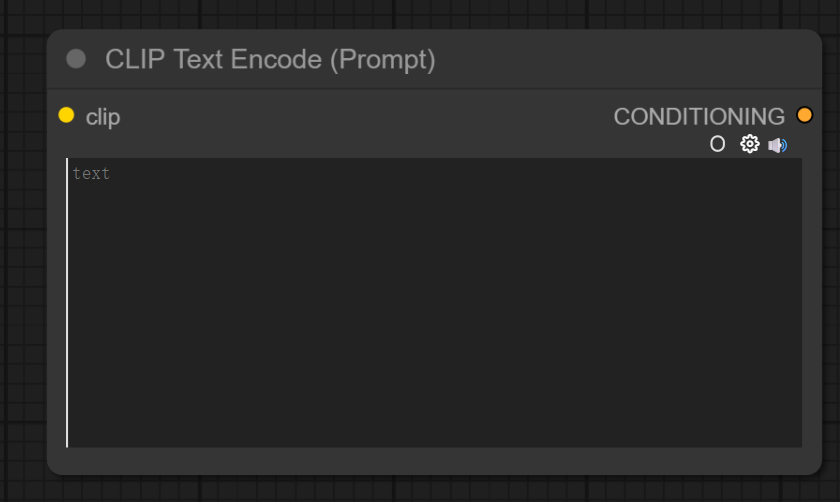
2. CLIP Text Encoder
Translates your creative ideas into machine-understandable instructions.
- Function: Input Chinese or English prompts (Chinese requires helper nodes).
Operation:
- Connect to the CLIP output of the Checkpoint Loader.
- Enter your description in the text box, e.g., "a castle under a starry sky."
- Output: Conditioning (converted machine instructions).
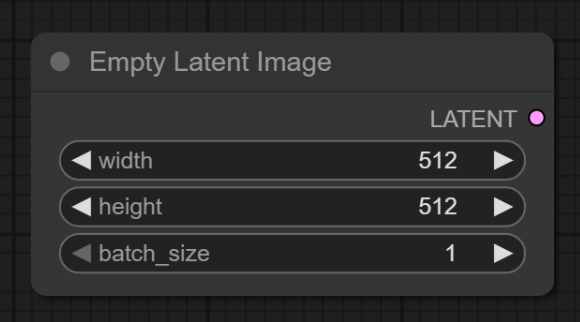
3. Empty Latent
Sets the canvas foundation for generating images.
- Function: Generates the initial canvas.
Parameters:
- Set image dimensions (e.g., 512x768).
- Adjust batch size (number of images to generate at once).
- Output: Latent (blank latent space canvas).
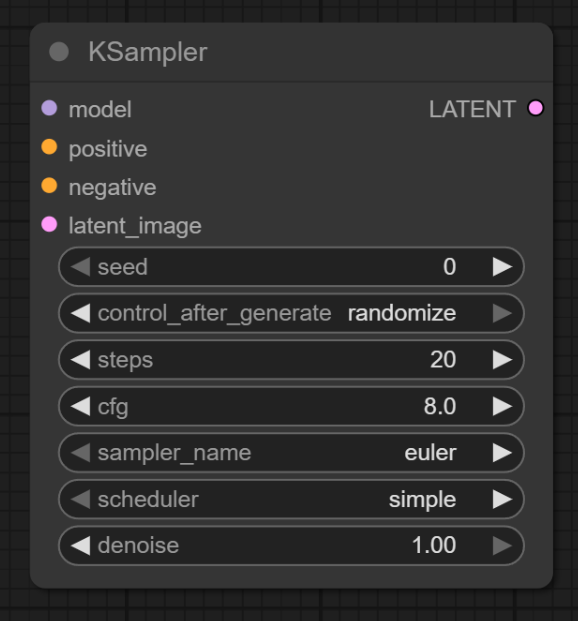
4. K Sampler
The engine of the entire workflow, responsible for actual image generation.
- Function: Core image generator.
- Inputs: Model + Positive/Negative Conditioning + Latent canvas.
Key Parameters:
- Seed: Controls the randomness of the generated image.
- Steps: Affects detail precision; 20-30 steps are commonly used.
- CFG: Prompt weight; 7-9 usually provides a good balance.
- Sampler/Scheduler: Consistent with WebUI settings.
- Output: Latent (processed latent space image).
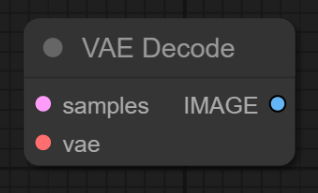
5. VAE Decode
Converts machine-generated latent space images into standard visible pictures.
- Function: Converts latent space images to visible images.
Inputs:
- Connect to the Latent output of the K Sampler.
- Connect to the VAE output of the Checkpoint Loader.
- Output: Image (final generated result).
Basic Workflow Sequence: Checkpoint → CLIP Text Encoder → Empty Latent → K Sampler → VAE Decode.
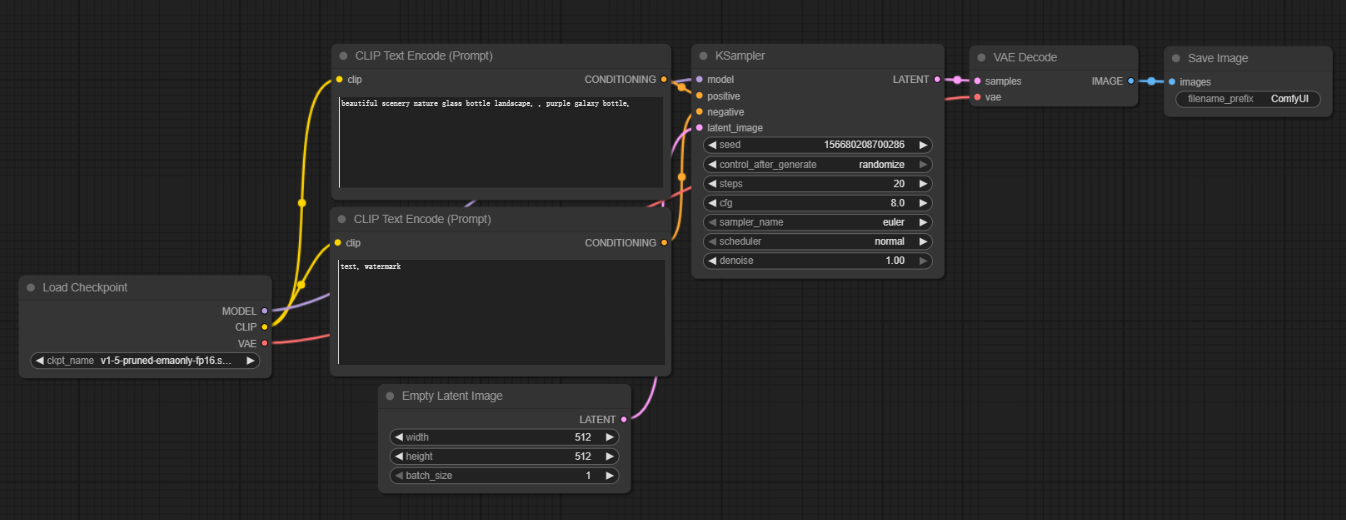
Image Processing and Extension Nodes
After mastering text-to-image basics, the following nodes enable advanced image processing and optimization.
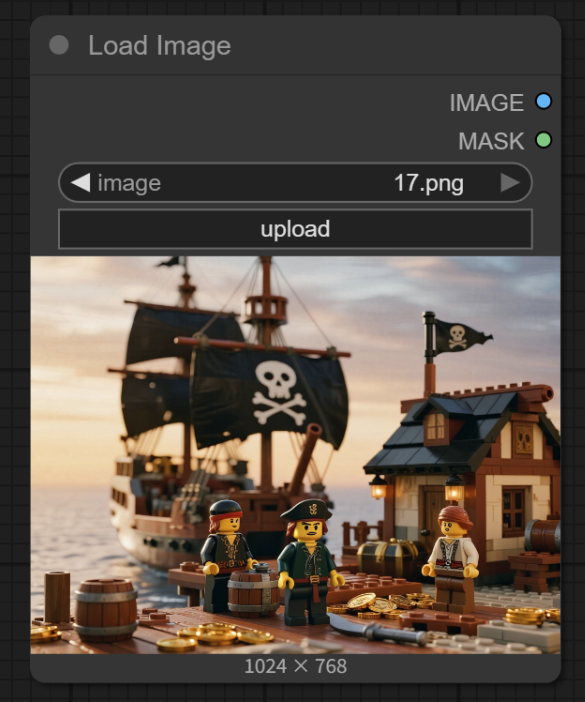
1. Load Image
Imports existing local images for processing.
- Function: Uploads local images to the workflow.
- Operation: Click the Upload button to select a file.
Outputs:
- Image: Base image.
- Mask: Image with transparency channel (if available).
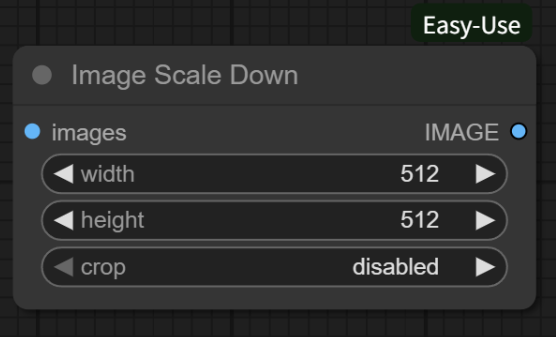
2. Image Scale
A basic tool for adjusting image dimensions.
- Function: Adjusts image size.
- Note: This is not AI upscaling; it is regular pixel-based scaling.
Parameters:
- Select an algorithm (e.g., bilinear interpolation).
- Set target width and height.
- Choose crop mode (center or disabled).
3. Model Upscale (AI Super-Resolution)
Uses AI models to intelligently enhance image quality and resolution.
- Function: Intelligently improves image quality and resolution.
Setup:
- Connect to a dedicated upscale model loader node.
- Select a super-resolution model like 4x-UltraSharp.
- Output: High-definition image (up to 4K or higher resolution).
4. LoRA Loader
Adds specific styles or feature fine-tuning to generated images.
- Function: Adds style/feature fine-tuning.
- Inputs: Connect to the Model and CLIP outputs of the Checkpoint Loader.
Parameters:
- Select a LoRA file (e.g., mecha
- style).
- Adjust weight (0.6-1.2 is usually effective).
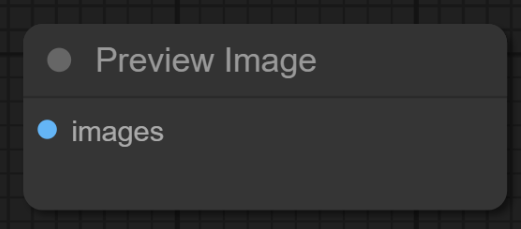
5. Preview Image
A crucial tool for real-time result monitoring.
- Function: Real-time viewing of processing results.
- Usage: Can be inserted into any part of the workflow to check intermediate effects.
- Example Workflow: Load Image → LoRA Stylize → Model Upscale → Preview.
Conclusion
Mastering these core nodes is essential for using ComfyUI effectively. Start with simple text-to-image workflows and gradually incorporate more advanced nodes. As you gain proficiency, experiment with creating custom workflows to fully leverage ComfyUI's flexibility and power.
Unlock Full-Powered AI Creation!
Experience ComfyUI online instantly:
https://market.cephalon.ai/share/register-landing?invite_id=RS3EwW
Join our global creator community:
https://discord.gg/MSEkCDfNSW
Collaborate with creators worldwide & get real-time admin support.